Stampin’ Up!® Demonstrator Karen Robinson | Enjoy the ride…
Welcome to a brand new week and my very first Masculine Monday! I know a lot of paper crafters really struggle with masculine projects and I have a high demand for them, so I thought I’d give them a special place on my blog and make them a regular feature.
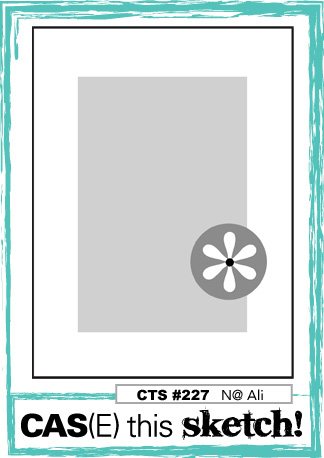
Today I’m playing along with the CAS(E) this Sketch! #227 challenge and it’s funny how sometimes you start off with a crystal clear direction for your project but end up somewhere completely different, this card started out as flowers but somehow ended up as motorbikes??? I’m still not sure how 😉
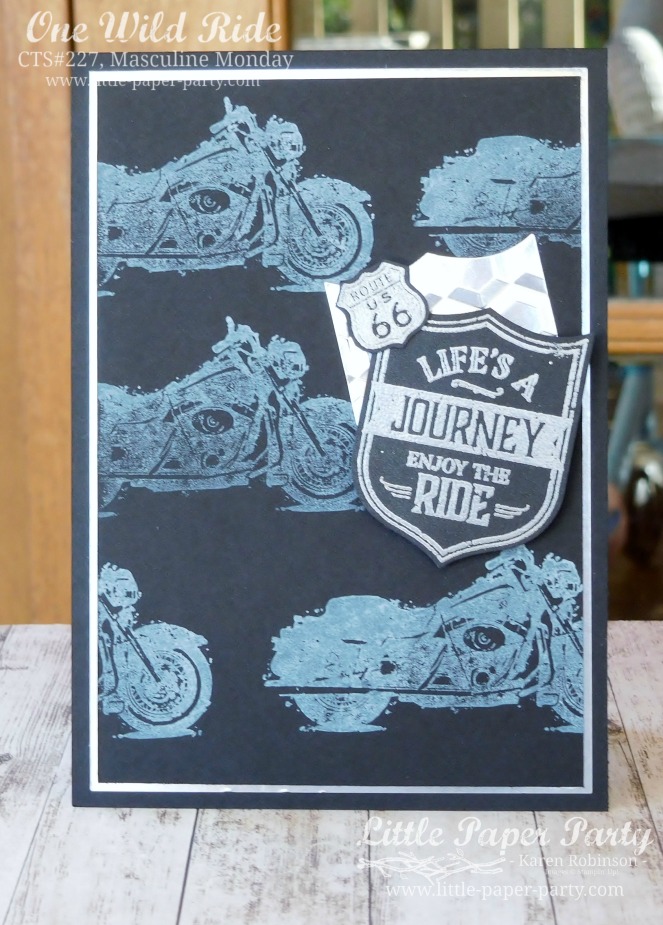
The motorbikes from One Wild Ride were stamped in Whisper White Craft ink on Basic Black cardstock and the result is this lovely chalky look that only the craft ink seems to give. The craft ink doesn’t dry as a bright, crisp white, it lets the background colour through and in person the bikes are a soft, powdery grey. This was the look I was after, but if you want a bright white, embossing powder is the best option, you can use it with VersaMark or with the craft ink for an even brighter white – I sound a bit like a washing detergent commercial 😉
Tip: Craft ink is a pigment ink and dries more slowly than the water-based or archival inks, make sure to allow plenty of drying time or use your Heat Tool – that’s what I did – to avoid smearing.

I’m quite fond of a little sparkle – ok, maybe a lot 🙂 – on my projects, but I know I need to tone it down for the guys, so I used Silver Embossing Powder to add a subtle shimmer to the sentiment and little Route 66 badge. The sentiment was punched out with the coordinating Best Badge Punch and the little badge fussy cut.
I popped the heat embossed badges onto a Silver Foil badge that had been dry embossed with the Hexagons Dynamic Embossing Folder, this is one of those folders that gives a deep impression and I love the extra texture it adds to my card.
Tip 1: I like to be economical with my supplies so cut the foil for the badge from the Silver Foil layer before adhering the bike layer to it. The hole is covered by this layer and I didn’t need to cut more foil 🙂
Tip 2: The embossing folder I used gives a deep impression so I punched the silver badge after I’d embossed to keep the edges crisp and well-defined.
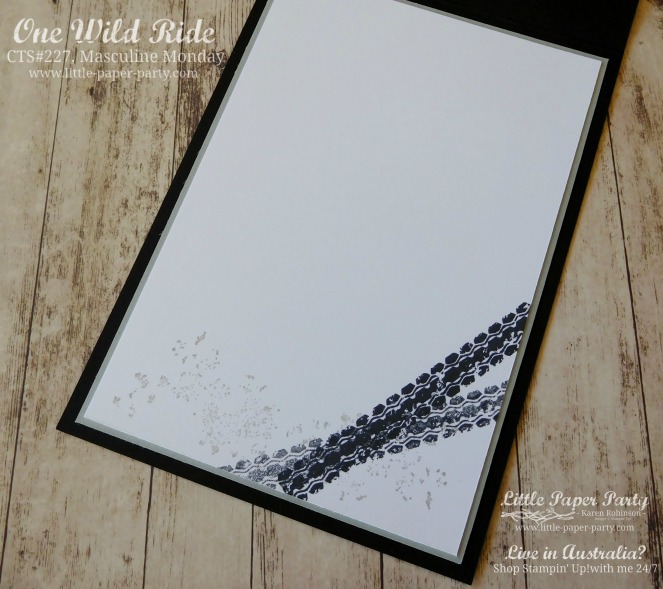
The inside is very simply finished with a layer of Smoky Slate and Whisper White and a little stamping across the bottom. This card could be used for lots of different occasions so I haven’t added a sentiment, I like to keep my options open 🙂
I hope you liked my project today, it got a thumbs up from my guys, although there is some debate about the foil badge, some were for, but a few against 😦 I guess I’ll have to ask for opinions before I glue everything down 😉
If you’d like to purchase any of the products I used today, please visit my online store. I’d love to be your Stampin’ Up! Demonstrator in Australia and remember to use June’s Host Code: 2GHYH7RE when you shop with me to receive your Customer Rewards.
Cheers,
Karen
Click here to shop with me 24/7
To receive a FREE Catalogue, click here
JUNE HOST CODE: 2GHYH7RE
Enjoy the ride.. | Supplies
One Wild Ride (clear-mount) // 141724
Basic Black cardstock // 121688
Silver Foil // 132178
Smoky Slate cardstock // 131291
Whisper White cardstock // 106549
Craft Stampin’ Ink // 145406
Momento Black ink pad // 132708
Smoky Slate ink pad // 131179
VersaMark ink pad // 102283
Best Badge Punch // 140633
Heat Tool // 129056
Hexagons Dynamic Embossing Folder // 143321
Silver Embossing Powder // 109131


Great masculine card and take on the sketch!
LikeLike
Thanks for your kind comment. I’m so glad you liked my card 🙂
LikeLike